Field of View
The Samyang 135mm f/2 lens is very wide in astrophotography terms. Most small refracting telescopes start in the 300 to 400 mm focal length range, and even these are classed as widefield telescopes.
When attached to a DSLR camera with a full-frame sensor, the lens offers a massive 15.5° x 10.6° field of view, or 18.8° across the diagonal. Even on an APS-C cropped sensor, common in entry-level DSLRs, the lens still provides a wide view of 10.4° x 6.9° (12.4° diagonal).
To give you an idea of what the Samyang 135mm f/2 can capture within a single frame, see the simulated field of view of Orion below for both the APS-C and Full Frame sensors.
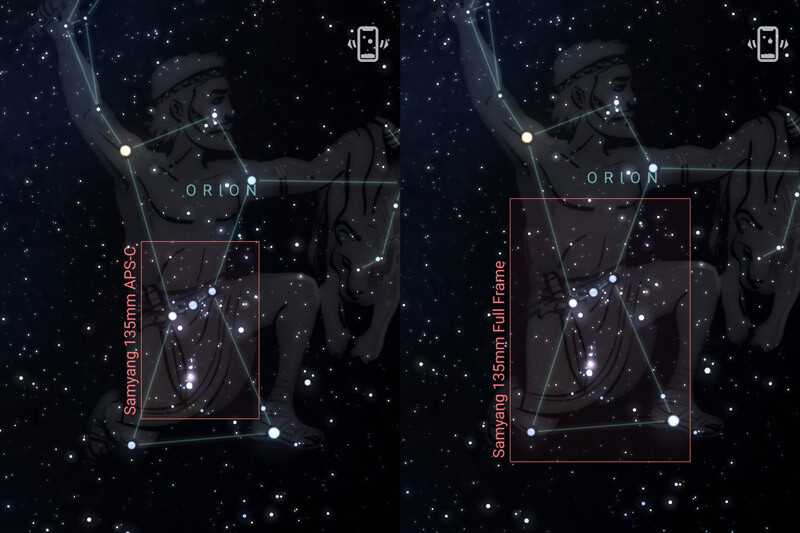
Field of view simulation in Stellarium is a great way to frame up your target in advance.
It is possible to capture all three stars in Orion’s belt, the horsehead and flame nebulae, the reflection nebula M78, and the great Orion nebula M42 in just one shot. If you have a full-frame sensor, you can even squeeze the Witches’ Head Nebula into the frame too.
Vignetting
Vignetting is the darkening of an image towards the corners of the frame and is a common issue on fast (wide aperture) telephoto lenses. The Samyang 135mm f/2 lens is no different and suffers from significant vignetting at wide apertures.
In astrophotography, vignetting results in ugly gradients in the corners of your image, particularly when you stretch the image to pull out faint details.
These gradients can be dealt with effectively by using flat calibration frames in your image stacking process. I would absolutely recommend that you include them as they can make a big difference to your final image.
Below is a typical flat frame I shot on an APS-C sensor at f/2; this image has been stretched again for clarity, but the vignette gradient is clearly visible in the corners.

The Samyang 135mm f/2 lens does suffer from vignetting but can be dealt with by taking flat calibration frames.
It is possible to reduce the amount of vignetting by stopping down your aperture to f/2.8 or f/4. However, it is not possible to remove it completely and maintain a useful wide aperture for astrophotography.
Focusing
Achieving pin-point star focus on the Samyang 135mm f/2 is simple.
One of the easiest ways to focus is to use the camera’s live view feature. This way, you get to see exactly what your camera sensor sees, plus it is quick, simple, and doesn’t need any additional equipment or software.
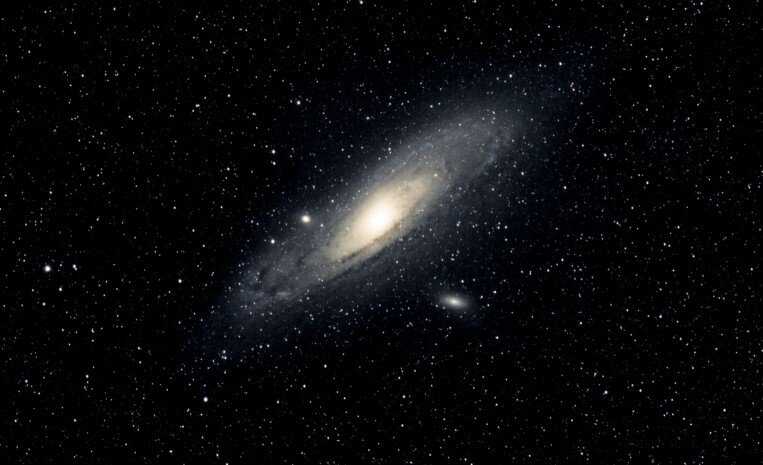
The magnificent Andromeda Galaxy (M31) is a great first target for the Samyang lens, by Mike Soulby stellardiscovery.com
To achieve pin-point star focus, follow these easy steps:
1) Set the focus ring at infinity and set the aperture setting wide open, i.e. f/2. Setting the lens to infinity will bring you into the correct range for focusing on stars, and only small refinements will be needed from here.


2) With the live view feature enabled, move your mount to find and centre a bright star.
3) Once centred, use the digital zoom feature, which will enlarge a small area of your live image to either x5 or x10 magnification. You may need to reposition the star to the centre of the view when you do this using your camera’s arrow keys. Once centred and magnified, you can begin to refine the focus.
4) As you adjust the focus ring, the aim is to make the star as small as possible. You will need to move in and out of focus a few times to help you decide when the star is as small as you can make it; see the image sequence below for an illustration.
As you approach the focal point, you may start to see fainter stars pop into view; this is a good indication you are on the right track.

5) You should now be in focus! To guarantee that you are well within the focus sweet spot, you can stop down the lens to f/2.8 or f/4. This will give you a wider depth of field, but more importantly, it reduces the chance that your camera will drift out of focus as the temperature changes through the night.
I find this focusing method a very quick and reliable way to focus the Samyang 135mm f/2 without needing any extra kit or a connection to a laptop. All of the images I have shared in this post were focused using this simple method.
This is by no means the only way to ensure sharp focus; you may wish to use a Bahtinov mask or even connect your camera to a laptop.
Build Quality
My first impressions of the Samyang 135 mm f/2 are that this is a solid, well-built lens. It is also quite heavy (830g) due to the 11 lens elements inside. The lens arrived well-packaged and also included a cylindrical lens hood and a soft carry bag.
The Samyang 135mm f/2 is built using a combination of metal and textured plastics. The materials are high quality, and overall the lens feels like it has been well put together. Even after a thorough examination, I could find no noticeable rattles or flaws.
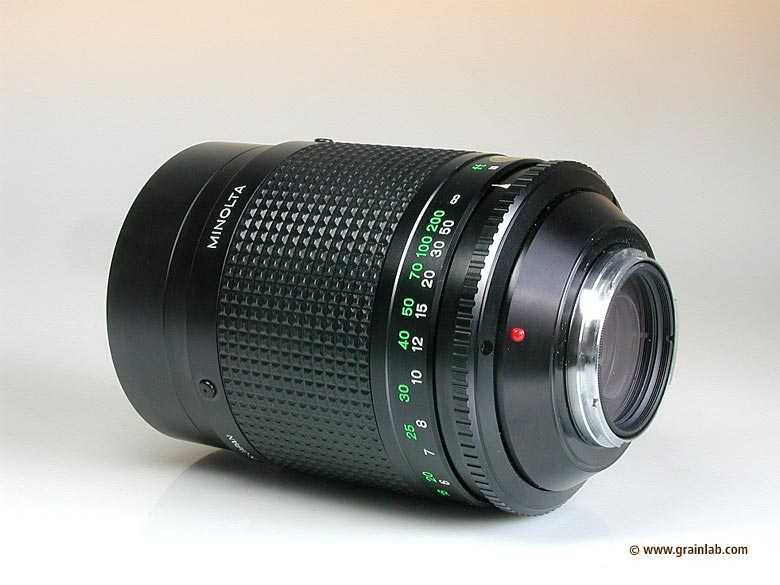
The focus ring is nice and wide, which I find is essential for a manual focus lens. It is easy to find and grip when you are trying to focus in the dark. The focus ring has a soft textured rubber grip, and the motion is smooth, offering a good amount of resistance, making fine focusing easy.
Once in focus, there is no slop in the final position, and your stars will remain sharp and in focus.
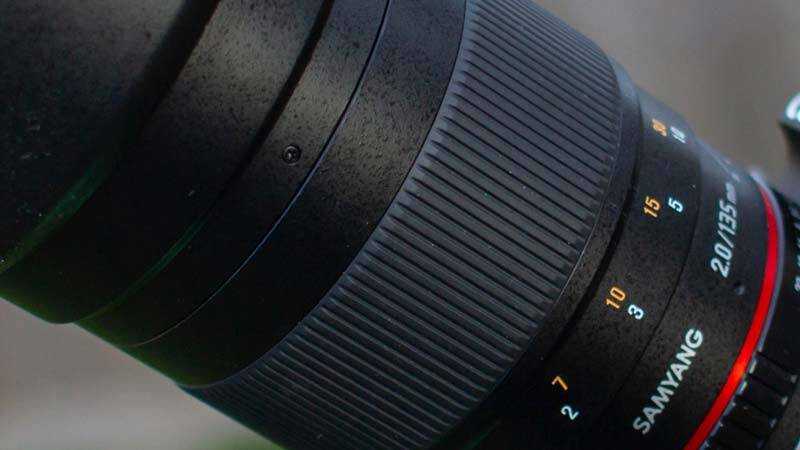
The large focusing ring on the Samyang 135mm F/2 lens makes focusing in the dark effortless.
Summary
The Samyang 135mm f/2 DSLR lens is fantastic for astrophotography. When paired with a simple star tracking mount, this lens will transform your DSLR into a very capable and portable widefield astrophotography rig.
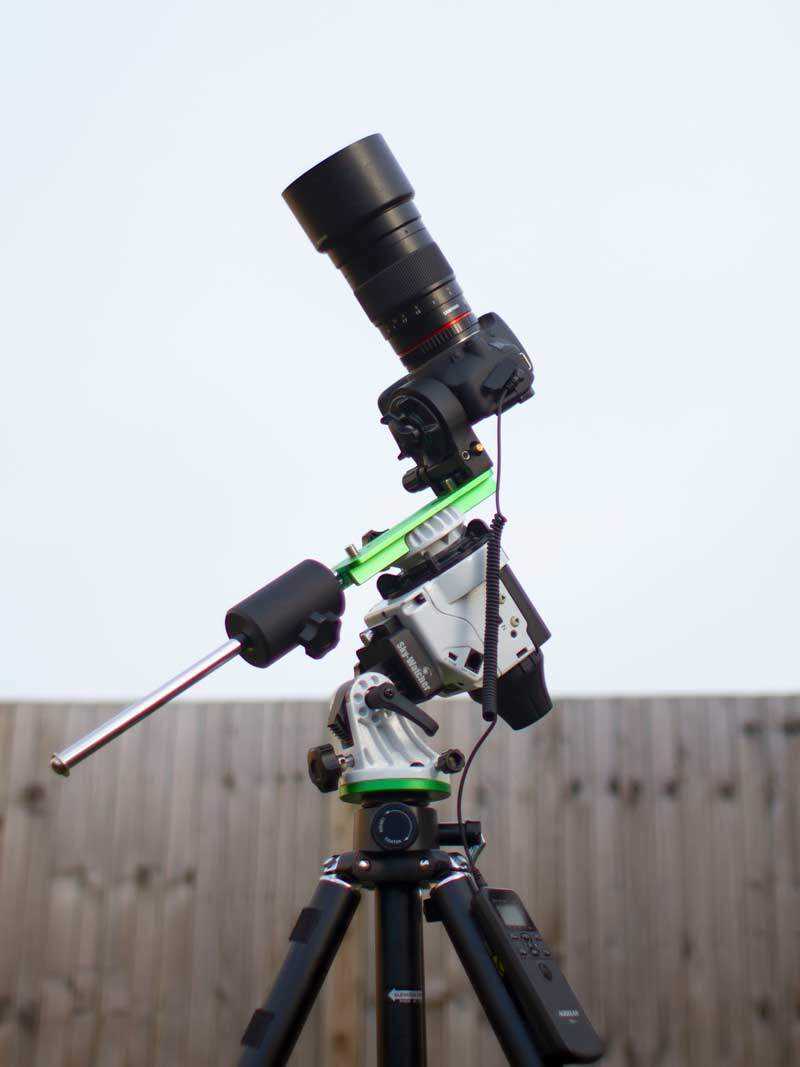
Ready to go! The Samyang 135mm f/2 lens on a Canon DSLR mounted to the Skywatcher Star Adventurer tracking mount, a very simple yet portable setup.
There are many positives to the Samyang 135mm f/2 lens; it has earned a solid reputation within the astrophotography community for producing high-quality astrophotography images.
Take a look through some of the community images at Astrobin and see what this lens is capable of.
You can find the latest price and availability of the Samyang 135mm f/2 on Amazon
Field Flatness
The superb field flatness is one of the main reasons why astrophotographers love the Samyang 135mm f/2. The combination and quality of the optical elements produce a truly sharp flat field from corner to corner.


Stars in the corner of the frame are just as sharp and undistorted as those in the centre.
The image below is one 80 second sub-exposure of the Flaming Star Nebula region in Auriga, which I shot using the Samyang 135mm f/2. This sub-exposure has had some basic levels and curves stretches applied to make things a bit easier to see, but otherwise, this is straight out of the camera.
Zooming into the corner of the image, you see pinpoint stars, which is exactly what you want to see in astrophotography images.
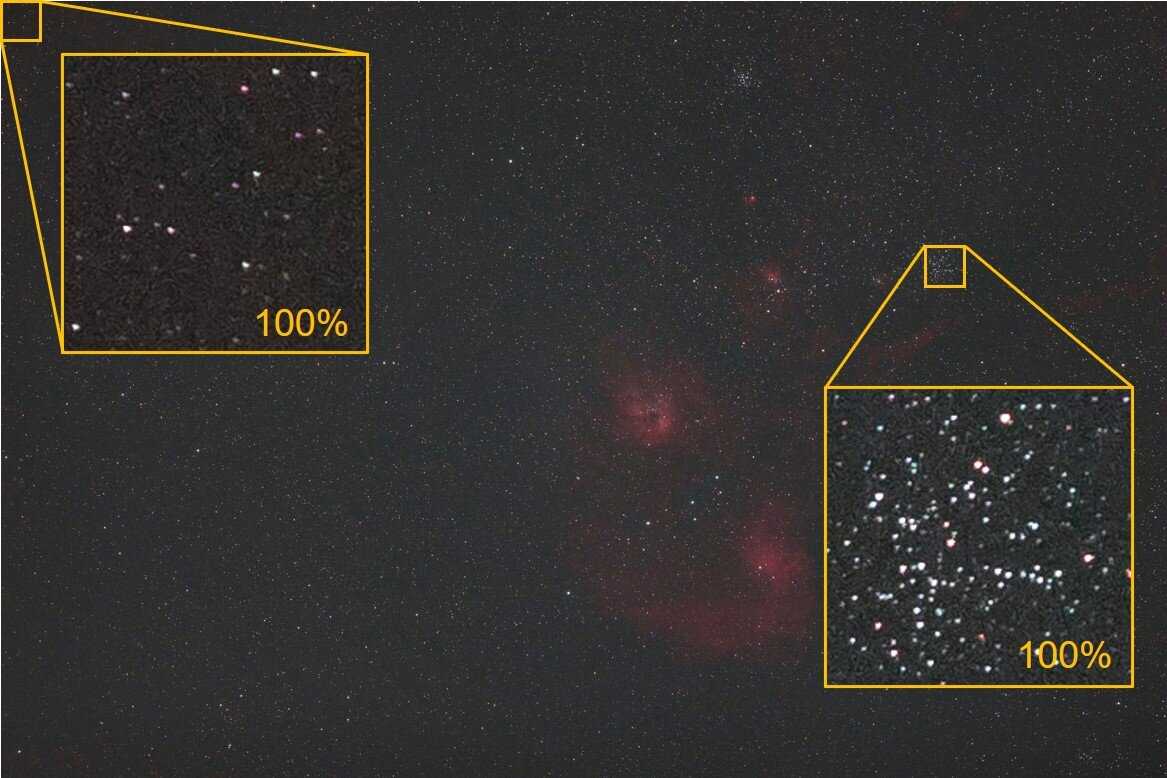
Stars remain sharp even in the corners of your images.
The fully processed image of the above Flaming Star Nebula is included earlier in this post.
Diffraction Effects
Inside the Samyang 135mm f/2, there are nine precision rounded aperture blades, which closely approximate a circular aperture when combined. For daytime photography, this creates a beautiful bokeh effect of any objects out of focus.
As the aperture is not a perfect circle, the lens will produce diffraction spikes around the brightest stars in your image, and the effect becomes more apparent at smaller apertures.
Each aperture blade creates two diffraction rays 180 degrees apart, perpendicular to the edge of the blade. As there is an odd number of blades inside the lens, the in total.
Below is an example of this effect on bright stars. These two stars in the image are viewed at 100% zoom, and to highlight the effect, I have applied an aggressive curves stretch in photoshop.
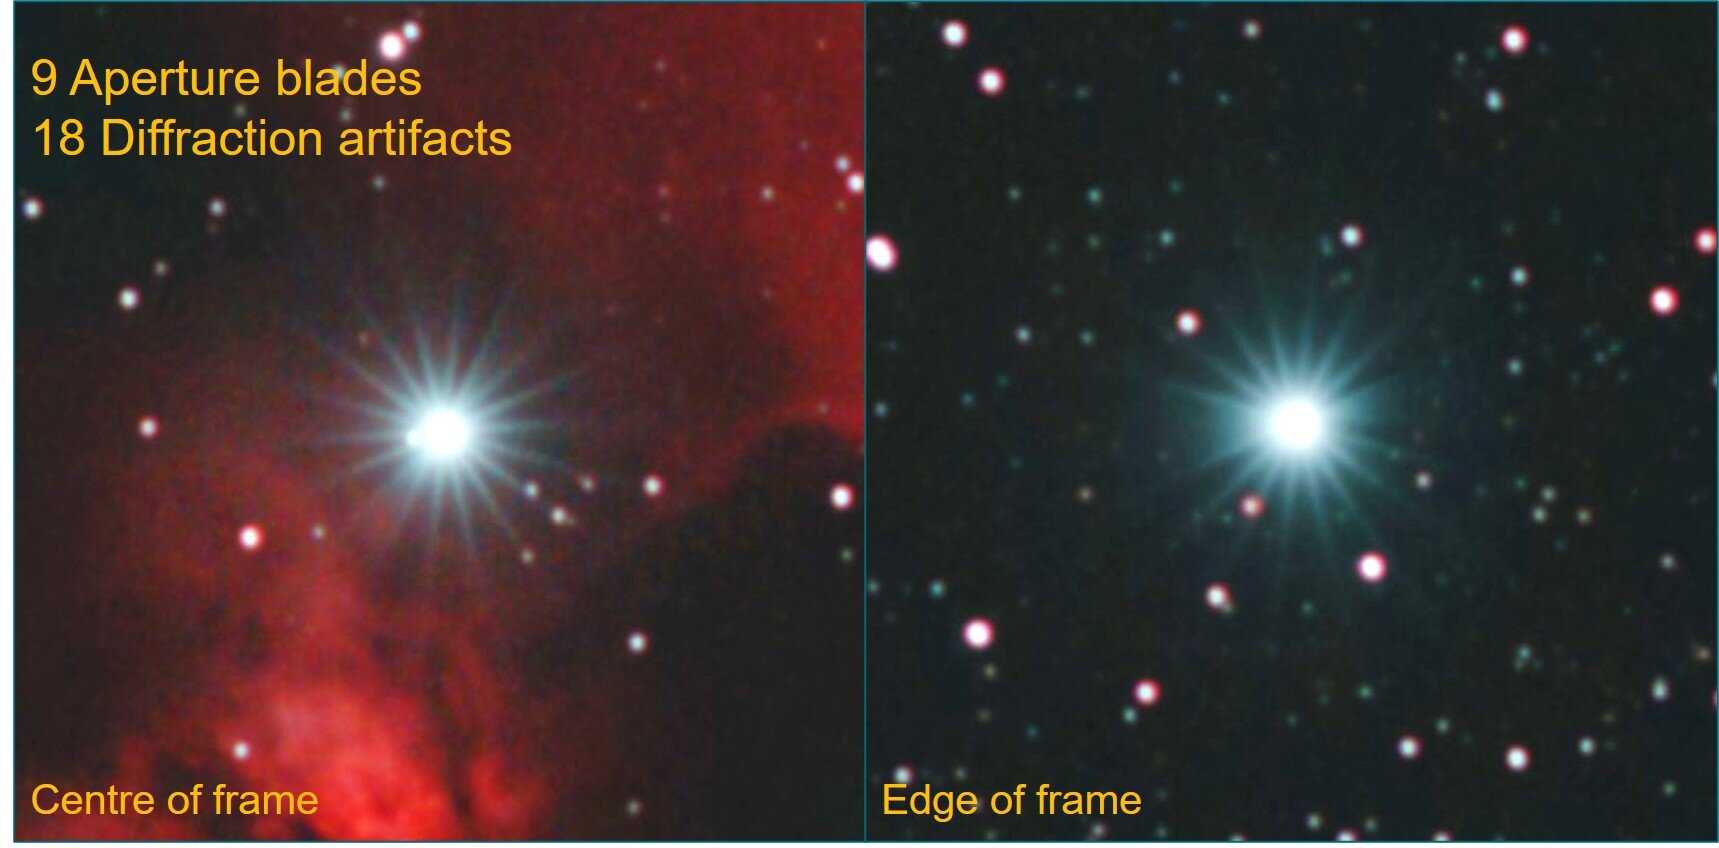
Non-circular aperture diffraction spikes are noticeable on bright stars.
In reality, the effect is only visible around bright stars and is relatively small in its extent. The two stars shown above are the bright stars from my Horsehead nebula image shown earlier in the post, and in my opinion, this effect does not spoil the overall image.
If you wish to remove this effect altogether, the best way to do this is to shoot with the aperture wide open at f/2. In this situation, the aperture blades are recessed under the lens casing, producing a perfectly circular aperture and no diffraction spikes.
There is a trade-off when the aperture is wide open, you will have a very narrow depth of field, making your otherwise perfect focus more susceptible to temperature drift, and the strong vignette present at f/2 will need to be dealt with.